How To Create A Gallery
Article Type:
Guide
This guide is to show you how to create, edit, manage and sort images in a gallery and detail some of the features avaiable.
Features
- Support for the following file types: .gif, .png, .jpg, .jpeg, .jps
- Automatic thumbnail creation.
- Automatic gallery building using the mass image uploader.
- Automatic detection of 3D .JPS file for displaying preview images.
- Adds the gallery to the personal and global gallery lists.
- Lightbox viewer.
Create a gallery
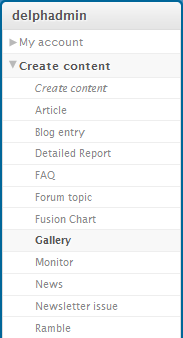
To create a new gallery simply select "Gallery" from the "create content" drop down list in the navigation bar on the left.
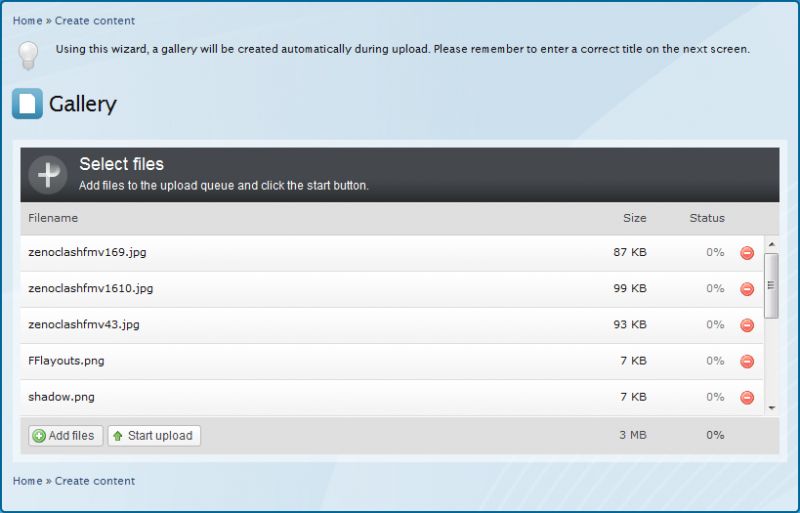
This will take you to a page where you may upload a mass of images by simply drag and drop into the box or by selecting add file and selecting each file 1 by 1.
PLEASE, Please, please set your files to have a reasonable filename.
- Make the filename be descriptive - Name of game, size of image, aspect ratio, widescreen or Eyefinity/Surround
- Take out extraneous characters, letters and numbers
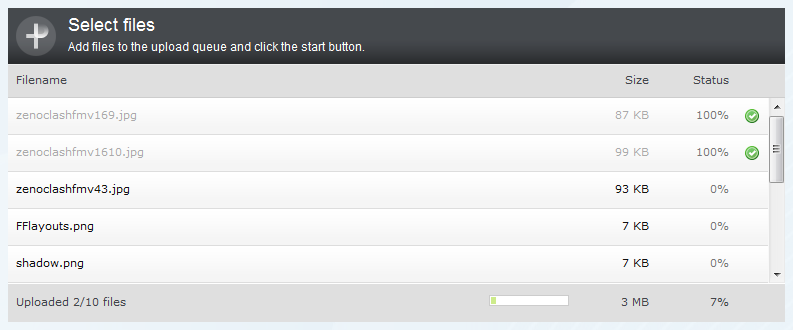
Once you have added the files to the list hit "start upload", this will process each image in the list and build a gallery for you.
Notes on Uploading & Tagging
- You can view the progress as it uploads each file, when this is done, you will be presented with a settings page for the gallery where you may give your gallery a title and add tags.
- You can use the tags field to add a set of tags to the gallery, which can be used for filtering the gallerys by tags.
- For example I have created a Shift 2 gallery, there may also be other users whom have created gallerys with Shift2 images in, so we can use this tag to filter gallerys.
- The tag field will popup with suggestion tags to use when you start typing a tag in, this way you can choose to select an already existing tag or create a new one.
- You may also use multiple tags, seperating each one by a comma " , ". Example "Shift2, Eyefinity, Surround"
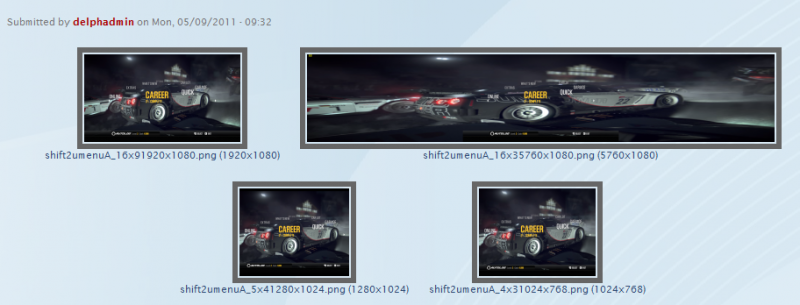
When these fields have been updated, you can then save the gallery and view it.


