Red vs Green vs Blue V2 - Bezel Correction
Bezel Correction
There has been a major development here by Nvidia.
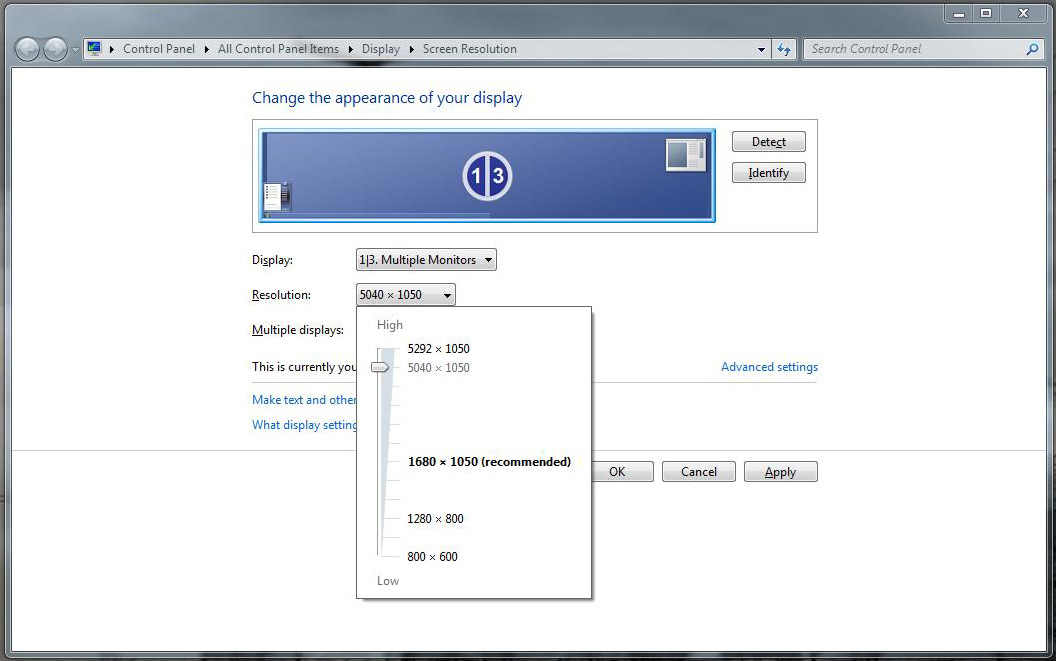
Eyefinity and Nvidia Surround do bezel correction in the same way. They make a new resolution higher than the non-corrected resolution, so that the extra pixels can sit behind your bezels. For example, on my Eyefinity rig, my non-bezel corrected resolution is 5040x1050, but my bezel corrected resolution is 5292x1050. This is great in one sense, because the monitors are full of in-game picture, but is painful as your mouse disappears behind the bezels. Sometimes menu items are located behind the bezels (Payday The Heist comes to mind); you just have to guess where your mouse is.
However, Nvidia has taken the lead here and provided users with Bezel Peeking. It does as it suggests and allows you to peek behind the bezels. Whether you are on the desktop or in-game, you can press the hotkey (Ctrl Alt B by default) to allow you to peek behind the bezels and then return to normal use.

The Triplehead2Go does things differently. For its bezel correction, it keeps the same desktop resolution, but simply moves the outside monitors’ images inwards. This means that the outside inch or so of your outside monitors is blank! Another downside is that I could not get the bezel management to remain enabled after a shutdown or reboot. It's not a huge deal, but it would be nice if you could choose to leave it set by default. The upside is that you get a hotkey to turn the correction on or off instantly. This means that when you want to just work on your desktop without your mouse disappearing, or you need to access an option in game that is behind your bezel, you can quickly hotkey it off, and hotkey it back on whenever you like.
In Version 1 of this article, I asked "Why can't we have the best of both worlds!" Nvidia users now get the best of both worlds, congratulations to the Nvidia Surround team for coming up with a good solution.
